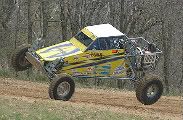
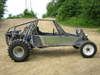
As some of you know I have had major Issues with flats on my new Buggy. After doing a lot of research on Beadlocks I decided that what was commercially avalable was not to my liking so I decided to make them instead. So off I go to my Buddies CNC shop and explain my situation. Of cource he was in total agreement and we set out to design and build our own. Due to the nature of Woods abuse on wheels the material selected was 1/2" thick Billet Aluminum. The outer ring is 3" wide and the Inner ring is 2" wide. The design criteria was based on the following thoughts: Major heavy duty, draining water out of rim, self centering tire, anti coning, strength and of cource they had to look good. First a rough sketch was made and modified several times to suit me. Then an ACAD drawing was produced of the design. The drawing was then downloaded into a CNC for preliminary test run purposes. A few minor adjustments in the run stage and off we went. Note to self, the next ones we do we have an anti coning step on the inner ring. It will need to be made with 3/4" material to accomplish this. For the protype I used .100" thick flat washers on the bolts between the rings to help with the coning. Shown below are the various stages of the prototype starting with cutting off the OEM outer bead thru various machining process's to welding the new inner ring on and then the final result of the mounted and polished beadlock on my Buggy . BTW The CNC program is written for these so if any one is interested in a set let me know and for a nominal fee I will hook you up. Special thanks to my Buddy Dave the owner of Precision Machining and Surfacing for taking the time to do this for me. Its really nice to have good friends.
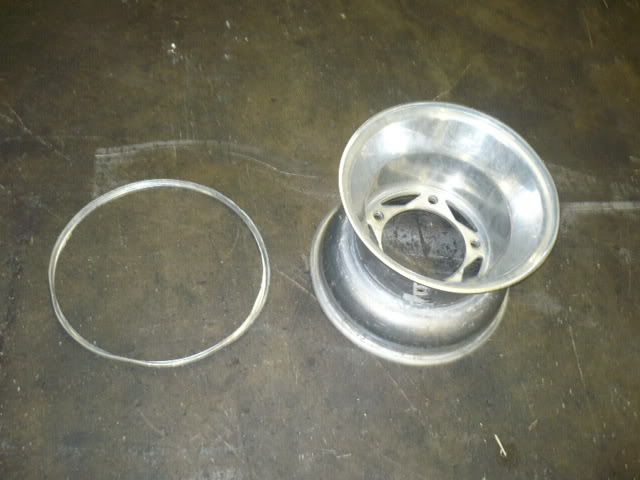
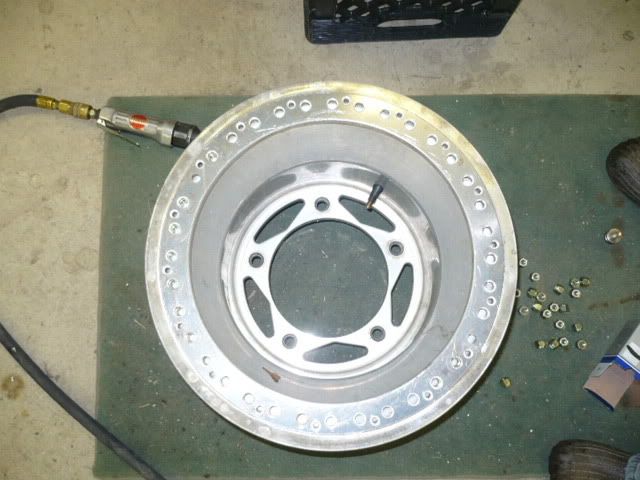
Rim with Bead cut off

Close up of bead cut off
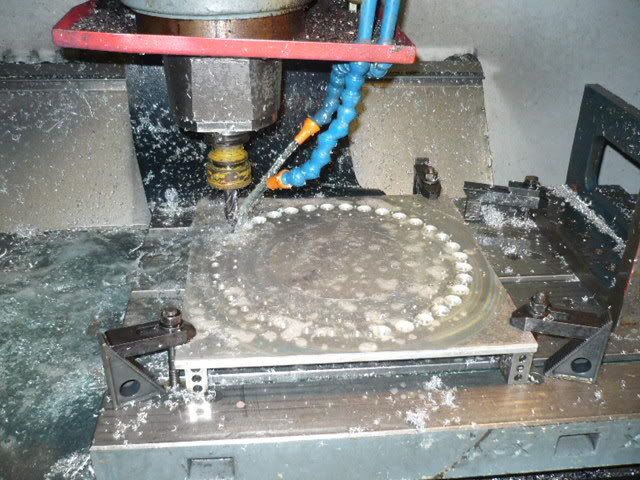
Beginning of Machining process
Cutting of the 36 3/8" bolt holes and drains. Stage one complete
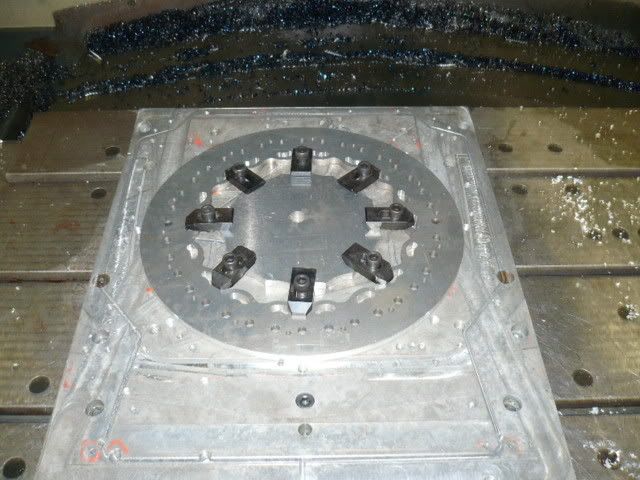
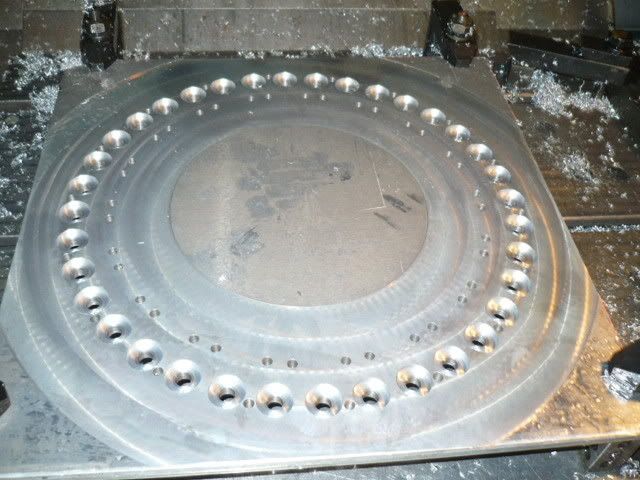
Cutting of Kidney drain slots and inner scallops comple. Now the Tire bead step is machined in the outer ring. A 1/4" radius is also machined on the outer edge of the ring so it will not cut into the tire when using low air pressure.
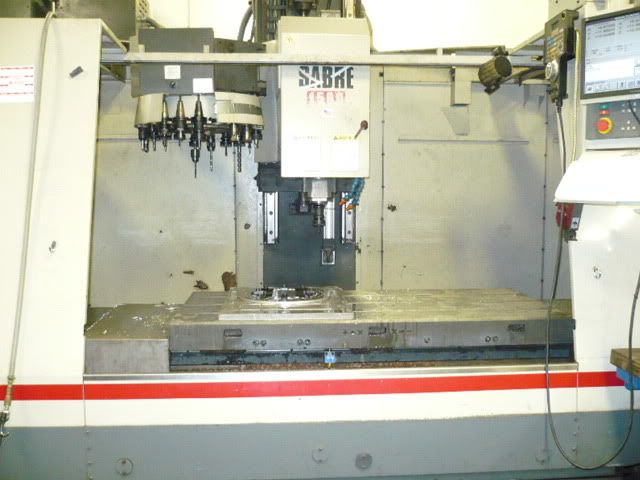
One of the CNC machines used in the process. We used two machines to keep the process moving.
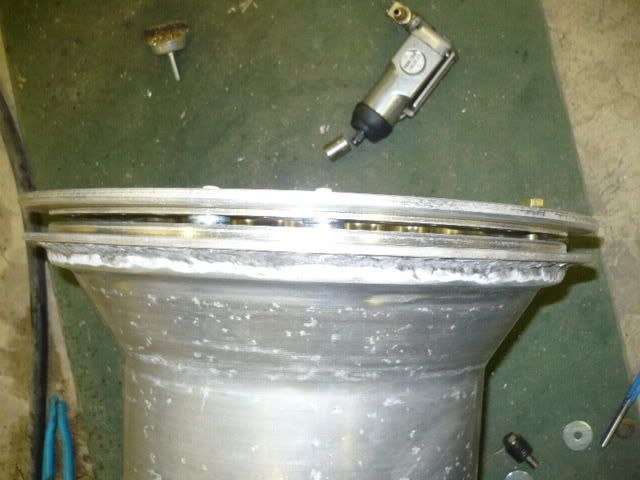
A completed inner ring welded on to rim . I was not there to take pics of the inner ring process.

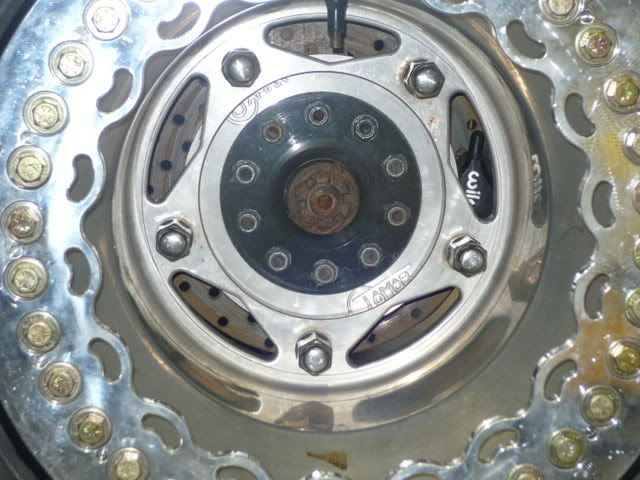
Hex's machined in to the inner ring for the nylock nuts.
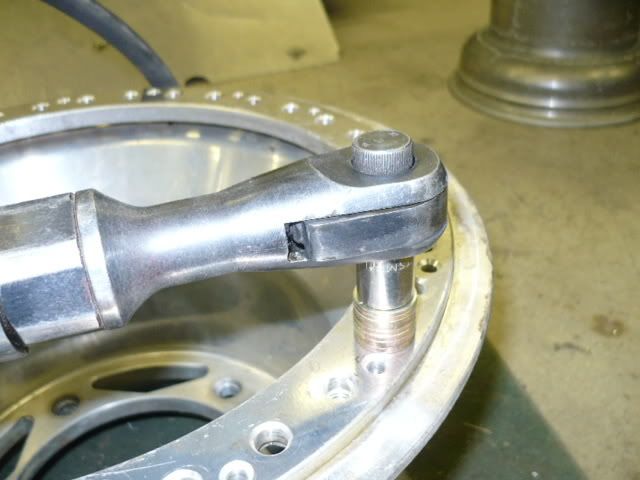
Installing the nylocks in the inner ring. They are a press fit so they stay in place and can be easyly replaced.
Inner and outer ring showing the the steps for self centering and support of the tire bead.
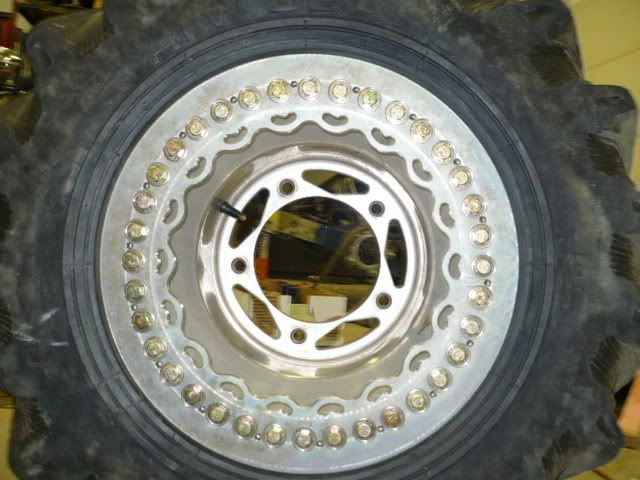
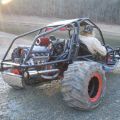
A completed Beadlock installed with tire in place.
Close up


 If your clutch ain't slippin,, you probably got it adjusted right!!!!!