|
All times are UTC - 5 hours [ DST ] |
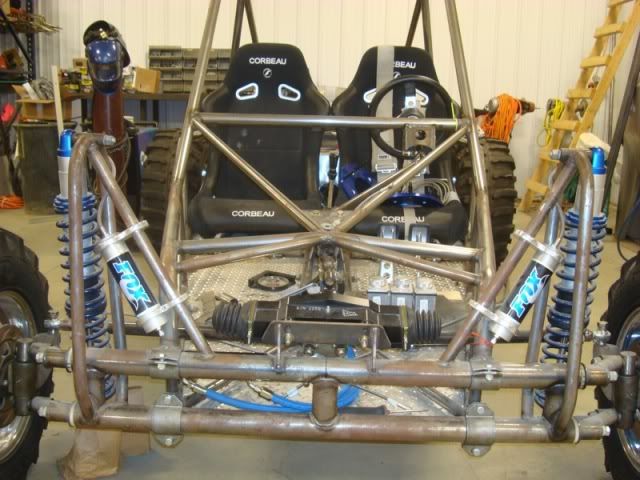
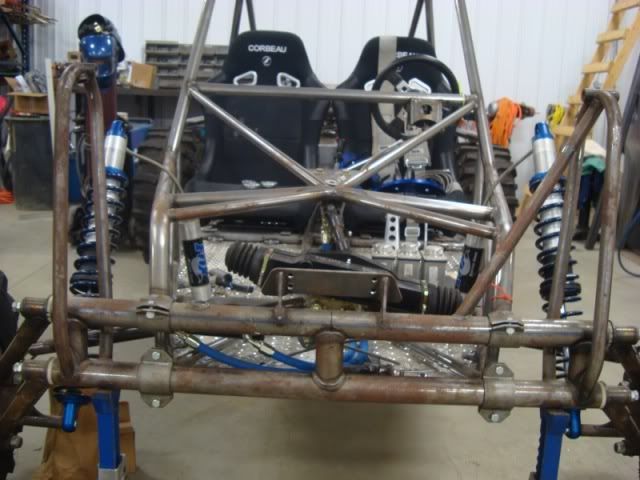
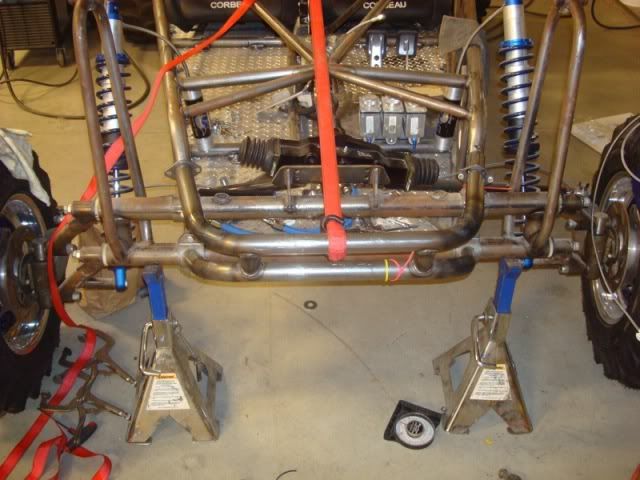
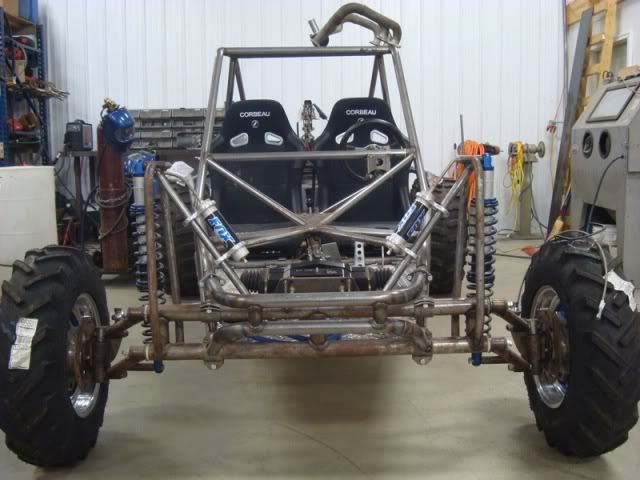
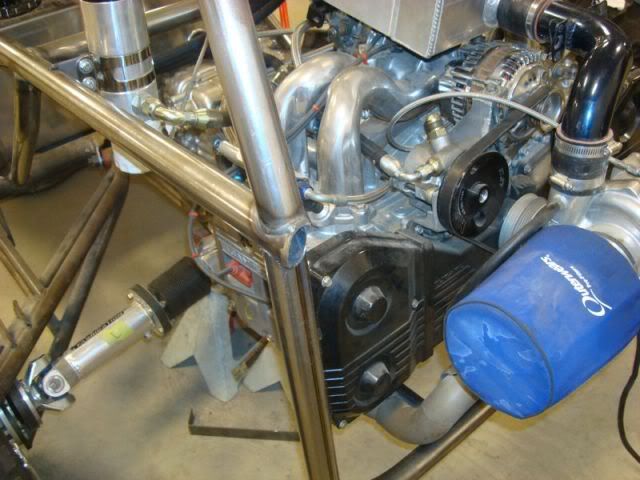
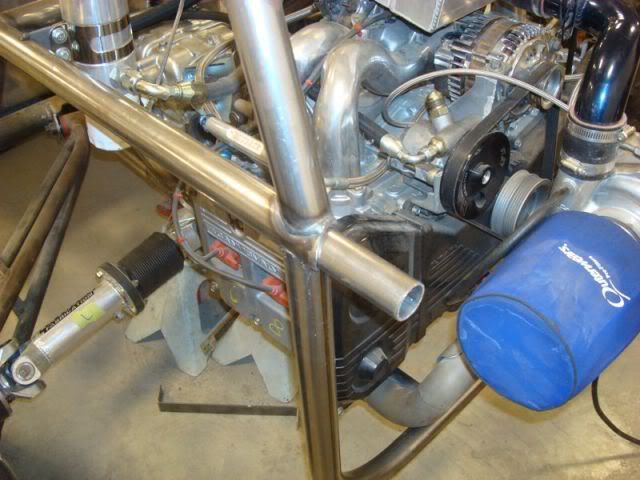
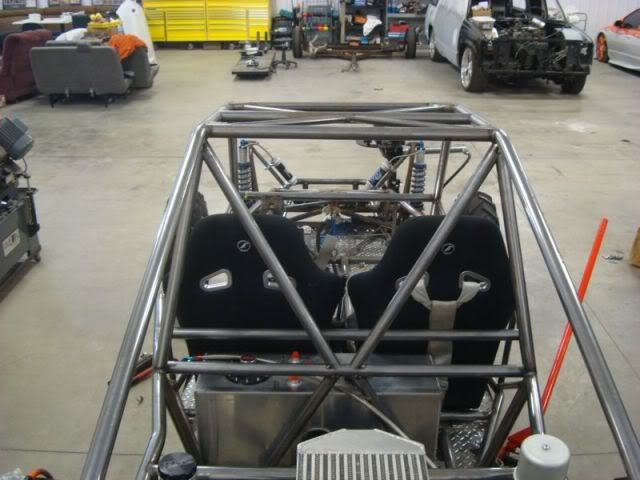
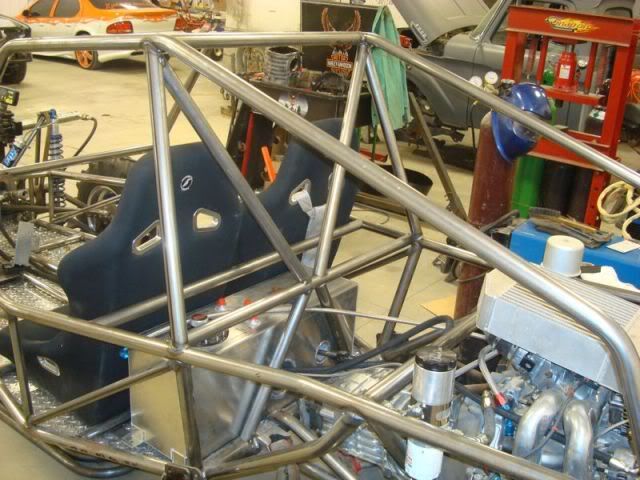
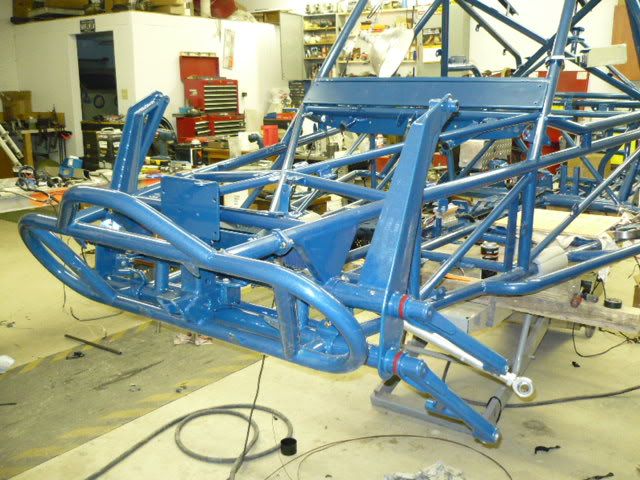
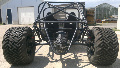
New Stalker frame with turbo suby power
Moderator: JeffClay
 
|
Page 3 of 7 |
[ 173 posts ] | Go to page Previous 1, 2, 3, 4, 5, 6, 7 Next |
|
| Author | Message | |||||
|---|---|---|---|---|---|---|
| Odyknuck |
|
|||||
Joined: Mon Apr 30, 2007 3:35 pm Posts: 3097 Location: Rome Ohio |
|
|||||
| Top | ||||||
| tw9294 |
|
||||
Joined: Thu Feb 19, 2009 8:52 pm Posts: 774 Location: wooster ohio |
|
||||
| Top | |||||
| BigScott |
|
||||
Joined: Wed Feb 14, 2007 11:19 pm Posts: 202 Location: Indianapolis,IN |
|
||||
| Top | |||||
| BigScott |
|
||||
Joined: Wed Feb 14, 2007 11:19 pm Posts: 202 Location: Indianapolis,IN |
|
||||
| Top | |||||
| bmoore |
|
||||
Joined: Mon Dec 29, 2008 9:52 pm Posts: 1342 Location: Mckenzie, TN |
|
||||
| Top | |||||
| giveitagallon |
|
|||||
Joined: Tue Sep 08, 2009 4:43 pm Posts: 1847 Location: rittman,ohio ----------- wellsville, water cooled chapter |
|
|||||
| Top | ||||||

| BigScott |
|
||||
Joined: Wed Feb 14, 2007 11:19 pm Posts: 202 Location: Indianapolis,IN |
|
||||
| Top | |||||
| BigScott |
|
||||
Joined: Wed Feb 14, 2007 11:19 pm Posts: 202 Location: Indianapolis,IN |
|
||||
| Top | |||||
| BigScott |
|
||||
Joined: Wed Feb 14, 2007 11:19 pm Posts: 202 Location: Indianapolis,IN |
|
||||
| Top | |||||

| bmoore |
|
||||
Joined: Mon Dec 29, 2008 9:52 pm Posts: 1342 Location: Mckenzie, TN |
|
||||
| Top | |||||
| MickeyMouse |
|
|||||
Joined: Tue Jan 08, 2008 8:53 pm Posts: 3056 Location: Atlanta, GA |
|
|||||
| Top | ||||||

| tw9294 |
|
||||
Joined: Thu Feb 19, 2009 8:52 pm Posts: 774 Location: wooster ohio |
|
||||
| Top | |||||
| RaceBugg1098 |
|
|||||
Joined: Wed Nov 07, 2007 2:07 pm Posts: 1599 Location: Petersburg, Ky |
|
|||||
| Top | ||||||

| hyde |
|
|||
|
Joined: Wed Dec 17, 2008 5:56 pm Posts: 783 Location: mooers hill IN |
|
|||
| Top | ||||
| bmoore |
|
||||
Joined: Mon Dec 29, 2008 9:52 pm Posts: 1342 Location: Mckenzie, TN |
|
||||
| Top | |||||
| BigScott |
|
||||
Joined: Wed Feb 14, 2007 11:19 pm Posts: 202 Location: Indianapolis,IN |
|
||||
| Top | |||||

| bmoore |
|
||||
Joined: Mon Dec 29, 2008 9:52 pm Posts: 1342 Location: Mckenzie, TN |
|
||||
| Top | |||||
| BigScott |
|
||||
Joined: Wed Feb 14, 2007 11:19 pm Posts: 202 Location: Indianapolis,IN |
|
||||
| Top | |||||
| RaceBugg1098 |
|
|||||
Joined: Wed Nov 07, 2007 2:07 pm Posts: 1599 Location: Petersburg, Ky |
|
|||||
| Top | ||||||
| MadMike |
|
|||||
Joined: Fri Mar 02, 2007 11:55 pm Posts: 2304 Location: S.W. Pa. Wellsville Water Cooled Chapter |
|
|||||
| Top | ||||||


| Odyknuck |
|
|||||
Joined: Mon Apr 30, 2007 3:35 pm Posts: 3097 Location: Rome Ohio |
|
|||||
| Top | ||||||
| MartinB |
|
||||
Joined: Fri Jan 07, 2011 6:38 am Posts: 132 Location: Chichester UK |
|
||||
| Top | |||||
| RaceBugg1098 |
|
|||||
Joined: Wed Nov 07, 2007 2:07 pm Posts: 1599 Location: Petersburg, Ky |
|
|||||
| Top | ||||||
| BigScott |
|
||||
Joined: Wed Feb 14, 2007 11:19 pm Posts: 202 Location: Indianapolis,IN |
|
||||
| Top | |||||
| lngtrvl2332 |
|
||||
Joined: Sat May 29, 2010 12:20 pm Posts: 465 Location: Northwest Indiana |
|
||||
| Top | |||||

|
|
Page 3 of 7 |
[ 173 posts ] | Go to page Previous 1, 2, 3, 4, 5, 6, 7 Next |
|
All times are UTC - 5 hours [ DST ] |
Who is online |
Users browsing this forum: No registered users and 38 guests |
| You cannot post new topics in this forum You cannot reply to topics in this forum You cannot edit your posts in this forum You cannot delete your posts in this forum You cannot post attachments in this forum |