It is currently Sat Apr 27, 2024 2:35 pm

Board index » General » Buggy Builds

All times are UTC - 5 hours [ DST ]


Post new topic Reply to topic  [ 64 posts ]  Go to page Previous  1, 2, 3  Next
Author Message
PostPosted: Wed Jan 02, 2013 4:59 pm 
Offline

Joined: Sun Feb 05, 2012 12:41 pm
Posts: 96
Location: Southaven MS
Hello ... The floor plate is 16 gauge sheet metal .. 14 gauge under the seats and 1/4 by 2 flat bar for the seats to bolt to. I have some 1/4 plate welded under the petals.( Very strong no movement there! ) wish i would have bolted in the floor insead of welding it all in tho. i have a sheet of 3/16 plate to cut my engine skid plate out of. I'm basically going to mimic a old empi one just thicker ... I don't mind answereing any questions .. If y'all have any just ask away. Haha


Top
 Profile  
 
PostPosted: Sat Feb 02, 2013 1:39 am 
Offline

Joined: Sun Feb 05, 2012 12:41 pm
Posts: 96
Location: Southaven MS
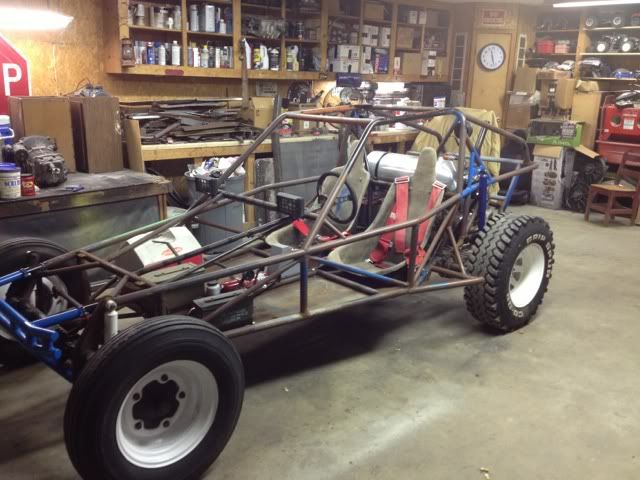
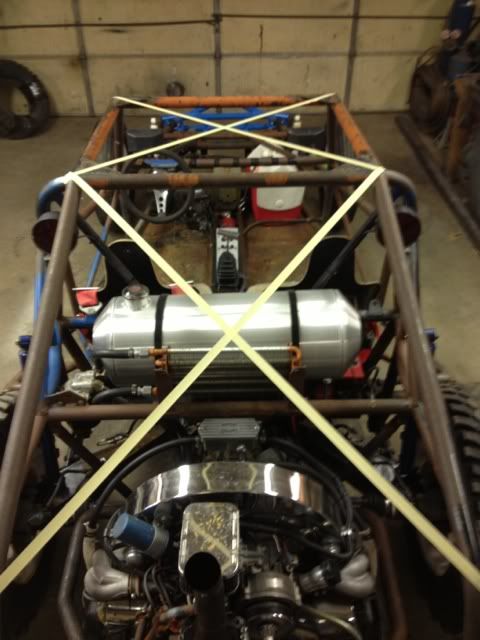
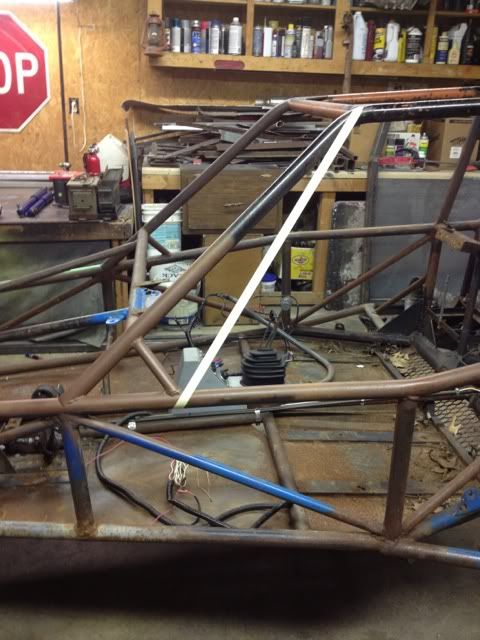
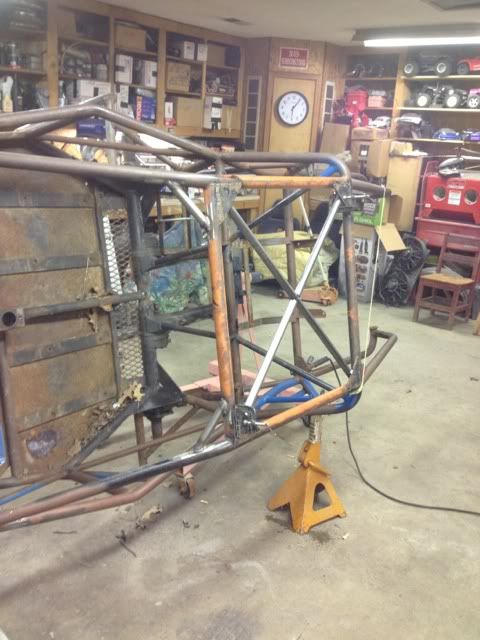
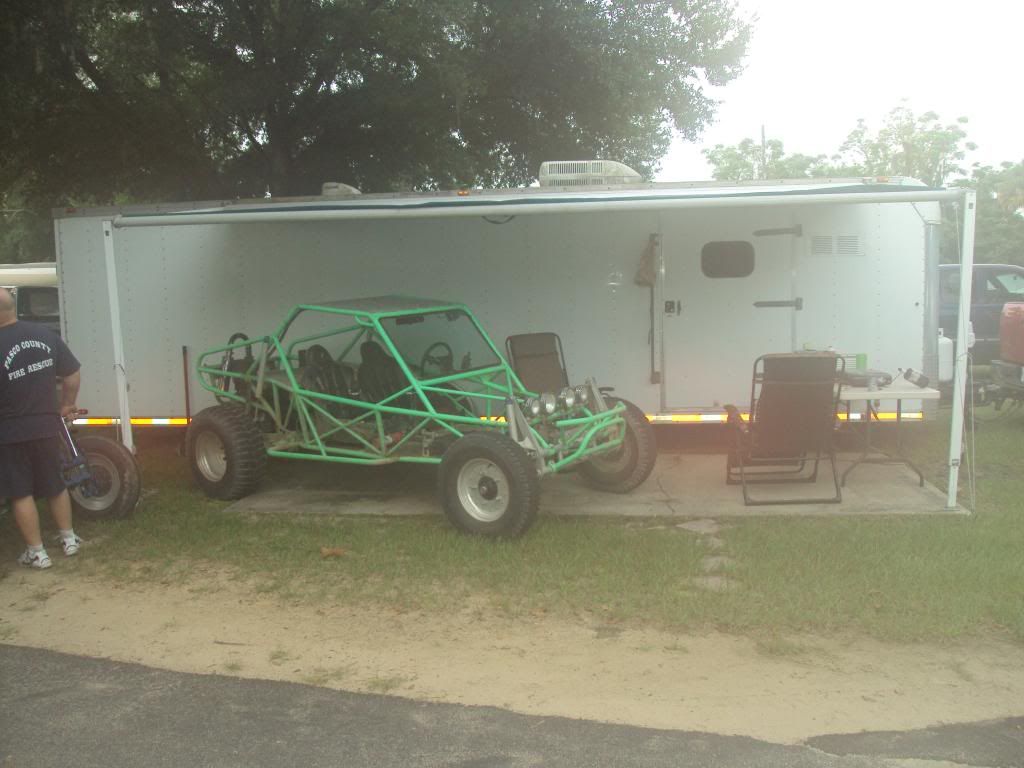
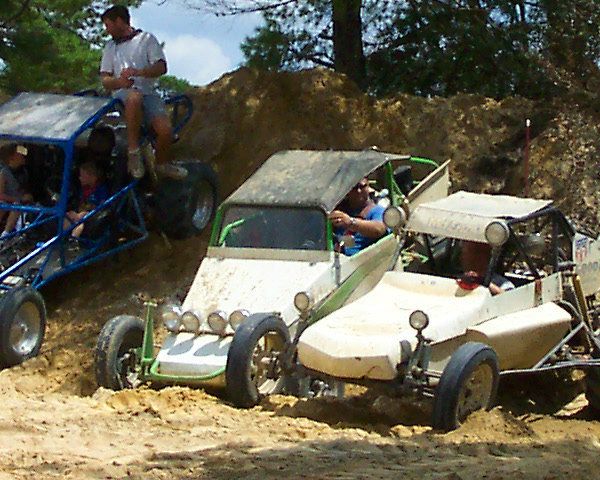
Well I'm getting ready to tear down , clean up , finish weld , do any last minute changing , sand blast and paint it. Anyone have a idea for any better bracing for it ? I'm going to x the roof for sure with 1 inch 120 wall like the picture but the engine area needs something I think .. Maybe like the picture I don't know Opinion please

Image

Image

Thanks for any input in advance 8)


Top
 Profile  
 
PostPosted: Sat Feb 02, 2013 2:35 am 
Offline
WoodsBuggy Addict
User avatar

Joined: Fri Nov 30, 2007 4:03 pm
Posts: 3181
Location: leeds alabama
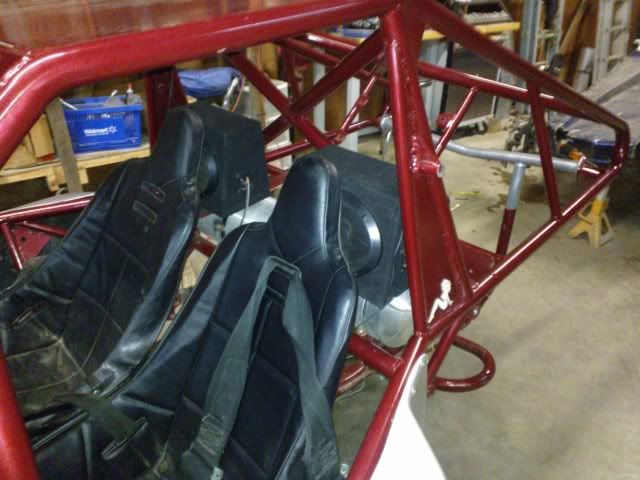
x behind the head like this also you could just weld a solid roof in rather than a x in the roof but either will be good

Image

and here is the back of mine done like your talking it will help alot makes it strong

Image

_________________
Image

I DO NOT FREE BASE COCAINE


Top
 Profile  
 
PostPosted: Sun Feb 03, 2013 9:06 am 
Offline

Joined: Sun Feb 05, 2012 12:41 pm
Posts: 96
Location: Southaven MS
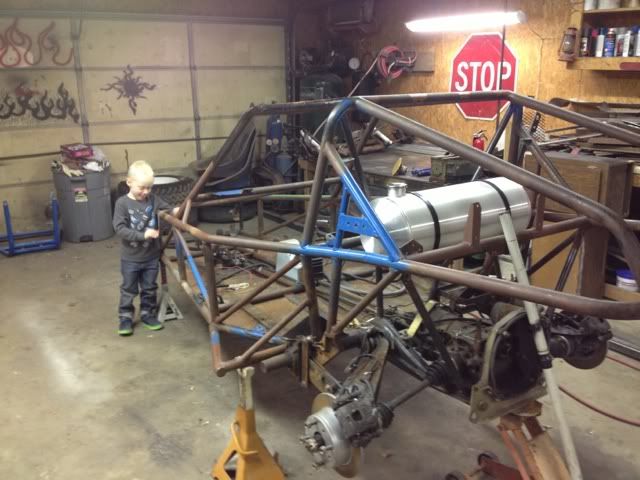
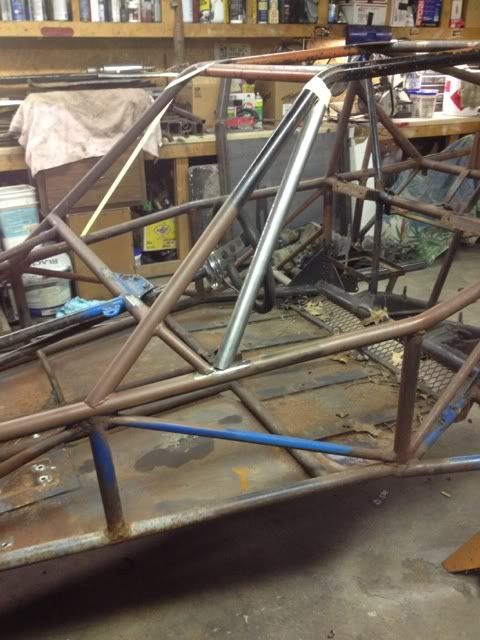
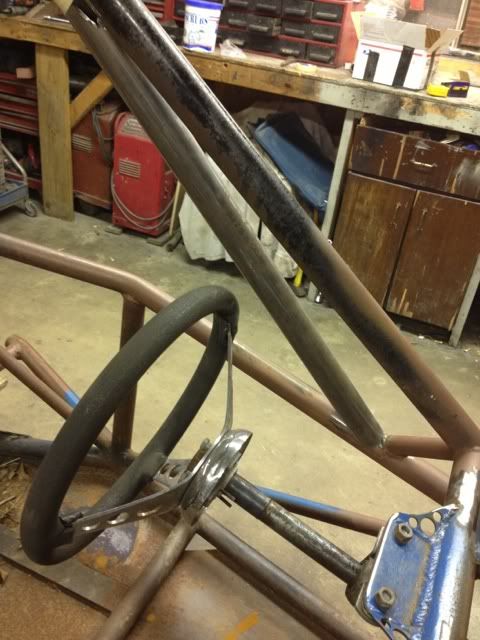
Thanks Jesse for the pictures and ideas. It nice to be able to see what I want to do already done. I have a y style brace behind the seats already they go to the torsion housing. It's 1 inch 120 wall tubing. Not really enought room for 1 1/2 in there. Got alot done in two hours tonight !!! Even had some help from my little buddy. :lol:


Image

Image
Think this will add alot of windshield , roof strength ?? Can't really move it back anymore because of how difficult it is to get in and out of for a big guy. :roll: :oops:


Top
 Profile  
 
PostPosted: Sun Feb 03, 2013 11:52 am 
Offline

Joined: Sun Jan 08, 2012 4:37 pm
Posts: 474
Location: Southern Indiana
On the windshield brace... I welded mine farther back over the up right side tube... Stronger I think but like you said hard to get in and out... I may end up re thinking mine too... Nice concepts... Looking forward to seeing more pics


Top
 Profile  
 
PostPosted: Sun Feb 03, 2013 12:01 pm 
Offline
WoodsBuggy Addict
User avatar

Joined: Tue Sep 08, 2009 4:43 pm
Posts: 1847
Location: rittman,ohio ----------- wellsville, water cooled chapter
If you look under buggy builds my car has alot of the bracing that you have drawn up . Maybe give you a idea of what it will look like if you do it .
Your buggy is looking great !

_________________
Theirs no replacement for displacement !


Top
 Profile  
 
PostPosted: Sun Feb 03, 2013 3:23 pm 
Offline
WoodsBuggy Addict
User avatar

Joined: Fri Nov 30, 2007 4:03 pm
Posts: 3181
Location: leeds alabama
I did not see the v that will wok good too my last buggy was a v and the way you got the window part is just how reno had his and his held up great to his flip

_________________
Image

I DO NOT FREE BASE COCAINE


Top
 Profile  
 
PostPosted: Sun Feb 03, 2013 11:49 pm 
Offline

Joined: Sun Feb 05, 2012 12:41 pm
Posts: 96
Location: Southaven MS
I appreciate the kind words, ideas and pictures fellas ! It's a complete bare frame as of tonight. I will start posting pictures tomorrow as I add more bracing .. This is a heavy buggy already !! Damn 120 wall tubing :lol: :lol:


Top
 Profile  
 
PostPosted: Tue Feb 05, 2013 10:34 am 
Offline

Joined: Sun Feb 05, 2012 12:41 pm
Posts: 96
Location: Southaven MS
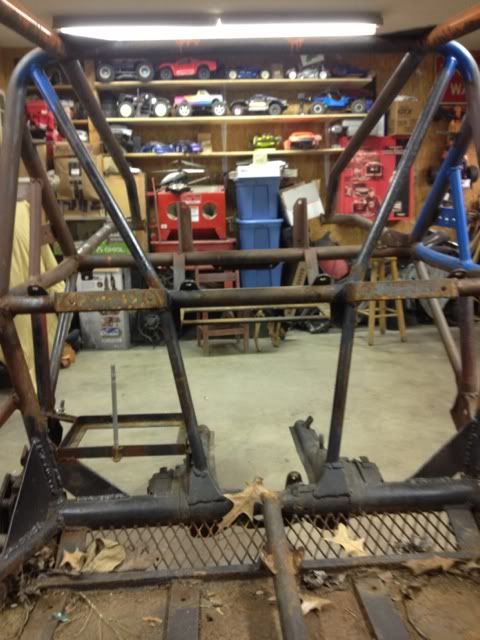
Well this will not work as planed !! Looks good but it needs a bend in it so I need at get ahold of a bender or leave it out ..

Image

Image


I want to try and make my x brace out of 1 1/2 tube instead of this 1 inch. It's 120 wall one inch in there now. I just don't have much room in there with the buggy assembled . It already hits my battery kinda.

Image


Top
 Profile  
 
PostPosted: Tue Feb 05, 2013 10:38 am 
Offline

Joined: Sun Feb 05, 2012 12:41 pm
Posts: 96
Location: Southaven MS
Pardon my semi messy shop in the back ground 8) :lol:


Top
 Profile  
 
PostPosted: Fri Feb 08, 2013 11:54 pm 
Offline

Joined: Sun Feb 05, 2012 12:41 pm
Posts: 96
Location: Southaven MS
Image

Image

Image

Got more work done ..


Top
 Profile  
 
PostPosted: Sun Feb 10, 2013 8:03 am 
Offline

Joined: Sun Feb 05, 2012 12:41 pm
Posts: 96
Location: Southaven MS
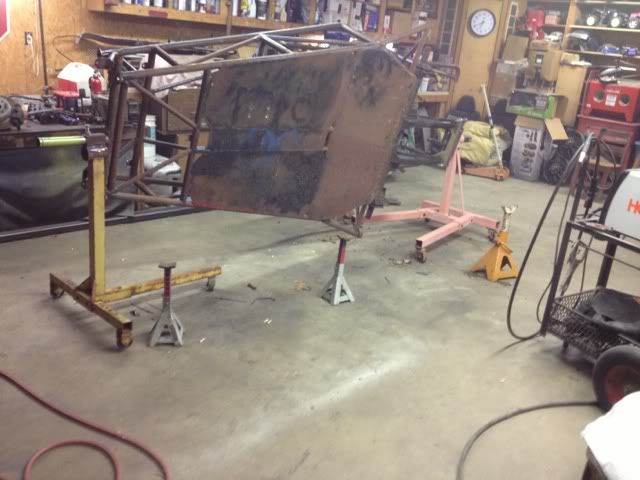
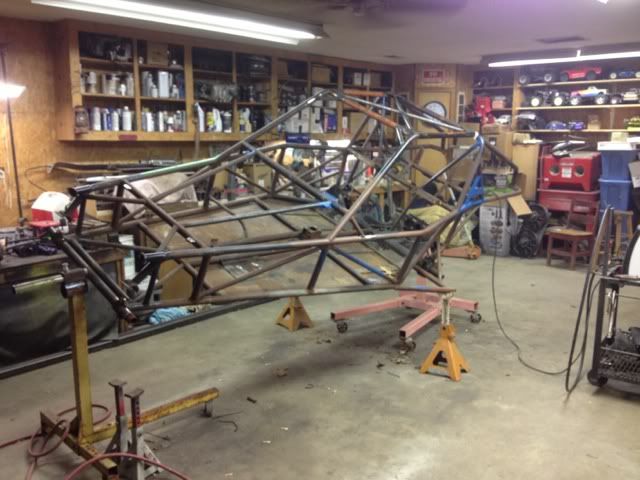
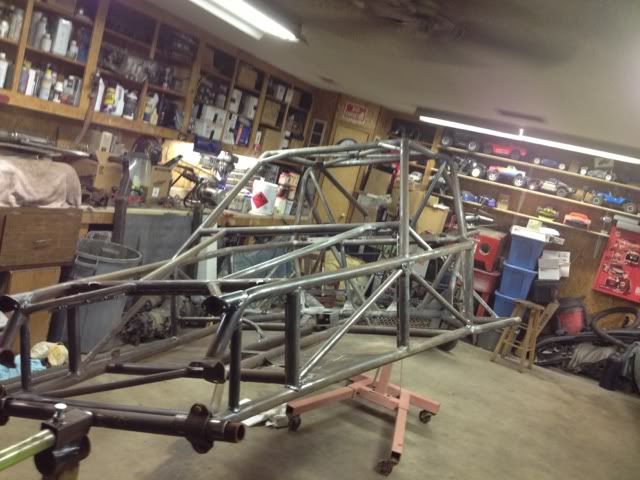
Well half a day... Two buddy's .. Three grinders and 280lbs of play sand. It's 95% ready for paint ..
Image

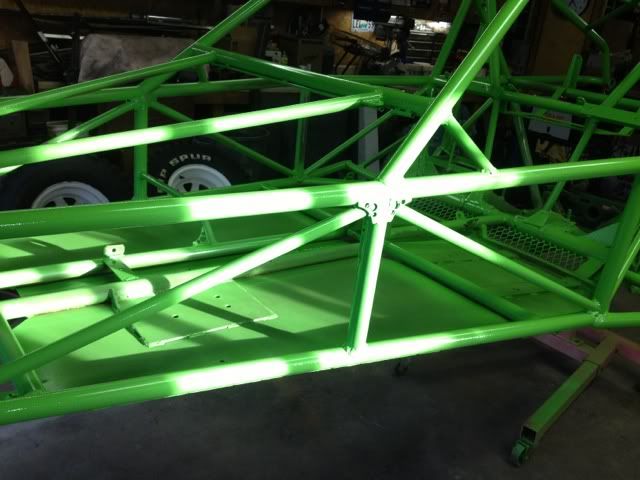
I got my paint lastlight too . It's going to be amazing !!! I made the color myself :lol: 8)


Top
 Profile  
 
PostPosted: Mon Feb 11, 2013 10:18 pm 
Offline

Joined: Sun Feb 05, 2012 12:41 pm
Posts: 96
Location: Southaven MS
Well ..

Image


Top
 Profile  
 
PostPosted: Mon Feb 11, 2013 10:27 pm 
Offline
WB Contributor
User avatar

Joined: Thu Sep 06, 2012 2:23 pm
Posts: 1212
Location: Chattanooga Tennessee
It sure is green, I like it can you tell
Image
Image

_________________
Water Cooled Consortium, Chairman of the Build (Former AC purist)


Top
 Profile  
 
PostPosted: Mon Feb 11, 2013 11:00 pm 
Offline
User avatar

Joined: Thu Oct 11, 2012 2:26 pm
Posts: 226
Location: Winchester,KY
buggy is looking good! can't wait to see more pictures! keep up the good work.


Top
 Profile  
 
PostPosted: Tue Feb 12, 2013 11:19 am 
Offline

Joined: Sun Feb 05, 2012 12:41 pm
Posts: 96
Location: Southaven MS
Thanks fellas !! I can't deside on my accent colors. I'm thinking silver and semi gloss black .. 8)


Top
 Profile  
 
PostPosted: Tue Feb 12, 2013 3:58 pm 
Offline
WoodsBuggy Addict
User avatar

Joined: Fri Nov 30, 2007 4:03 pm
Posts: 3181
Location: leeds alabama
You can do purple red black silver or another shade green

_________________
Image

I DO NOT FREE BASE COCAINE


Top
 Profile  
 
PostPosted: Fri Feb 15, 2013 11:30 pm 
Offline

Joined: Sun Feb 05, 2012 12:41 pm
Posts: 96
Location: Southaven MS
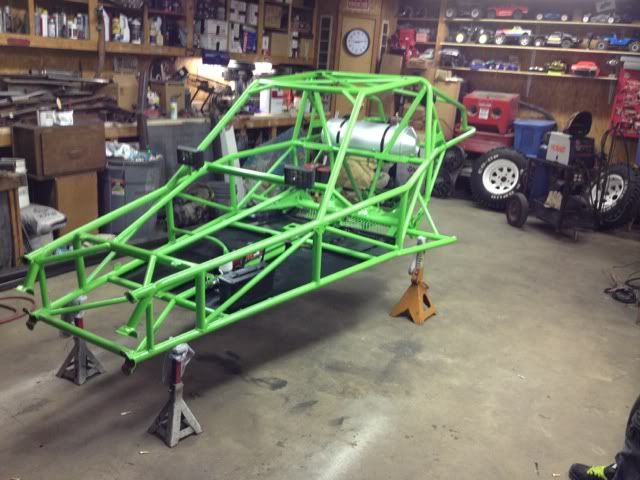
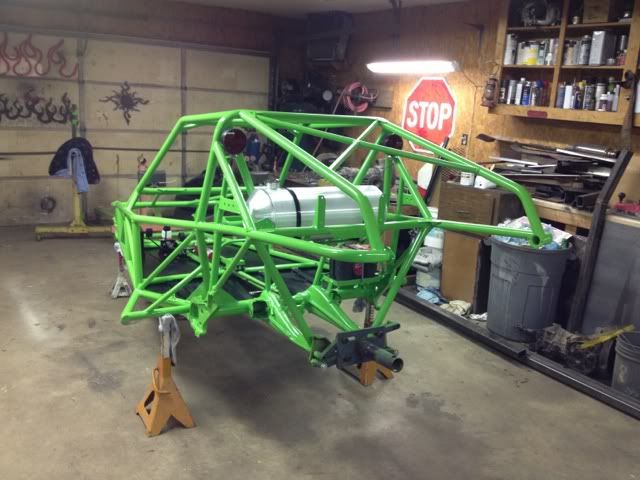
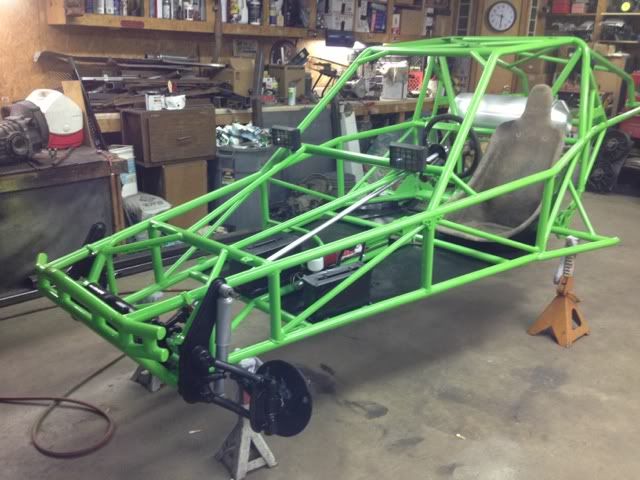
More progress.... Waiting on parts now The green looks so much better In person !!!

Image

Image


Top
 Profile  
 
PostPosted: Sat Feb 16, 2013 2:01 am 
Offline
User avatar

Joined: Fri Dec 28, 2012 4:05 am
Posts: 473
Location: connellsville, pa
Lookin real good! I wish i had a garage to work on mine all i got is the shade of a hemlock tree :mrgreen: Keep the updates comin!!

_________________
#If the throttle isn't floored, Your NOT havin FUN!!!!#


Top
 Profile  
 
PostPosted: Sat Feb 16, 2013 2:56 am 
Offline
User avatar

Joined: Thu Oct 11, 2012 2:26 pm
Posts: 226
Location: Winchester,KY
buggy is looking good! you will have it in the woods before you know it!


Top
 Profile  
 
PostPosted: Sat Feb 16, 2013 8:55 am 
Offline

Joined: Sat Jan 27, 2007 12:38 am
Posts: 961
Location: Kettering Ohio
That is awesome!! I'm a huge fan of the bright green. Almost went that route on mine and went black instead. If I do another one at some point it will be a bright color like that. Looks great!

_________________
"Obstacles are those frightful things you see when you take your eyes off your goal." -Henry Ford


Top
 Profile  
 
PostPosted: Sat Feb 16, 2013 9:26 am 
Offline

Joined: Sun Jan 08, 2012 4:37 pm
Posts: 474
Location: Southern Indiana
Great looking buggy... What paint is that... Where did you get it :)


Top
 Profile  
 
PostPosted: Sat Feb 16, 2013 11:30 am 
Offline

Joined: Sun Feb 05, 2012 12:41 pm
Posts: 96
Location: Southaven MS
Well it's a custom mix I made .. For free :lol: :lol: 8) It cheaper to powder cost one than buying the paint .. 139.00 a qt. I used a gallon and needed a bit more.


Top
 Profile  
 
PostPosted: Sat Feb 16, 2013 11:36 am 
Offline

Joined: Sun Feb 05, 2012 12:41 pm
Posts: 96
Location: Southaven MS
I appreciate the kind words fellas ! It's starting to come together finally !


Top
 Profile  
 
PostPosted: Sat Feb 16, 2013 11:38 pm 
Offline

Joined: Sun Feb 05, 2012 12:41 pm
Posts: 96
Location: Southaven MS
Got some more work done today .. Been waiting on parts for over a weak !! I'm at a stand still with it now tho...

Image


I'm needing a bowdon tube bracket for a bus three rib tho .. Anyone have one they want to sell let me know. Thanks


Top
 Profile  
 
Display posts from previous:  Sort by  
Post new topic Reply to topic  [ 64 posts ]  Go to page Previous  1, 2, 3  Next

Board index » General » Buggy Builds

All times are UTC - 5 hours [ DST ]


Who is online

Users browsing this forum: No registered users and 35 guests


You cannot post new topics in this forum
You cannot reply to topics in this forum
You cannot edit your posts in this forum
You cannot delete your posts in this forum
You cannot post attachments in this forum

Search for:
Jump to:  
Powered by phpBB® Forum Software © phpBB Group