It is currently Sat Apr 27, 2024 3:02 am

Board index » General » Buggy Builds

All times are UTC - 5 hours [ DST ]


Post new topic Reply to topic  [ 160 posts ]  Go to page Previous  1, 2, 3, 4, 5, 6, 7  Next
Author Message
PostPosted: Sun Dec 30, 2012 12:49 pm 
Offline

Joined: Sun Jan 08, 2012 4:37 pm
Posts: 474
Location: Southern Indiana
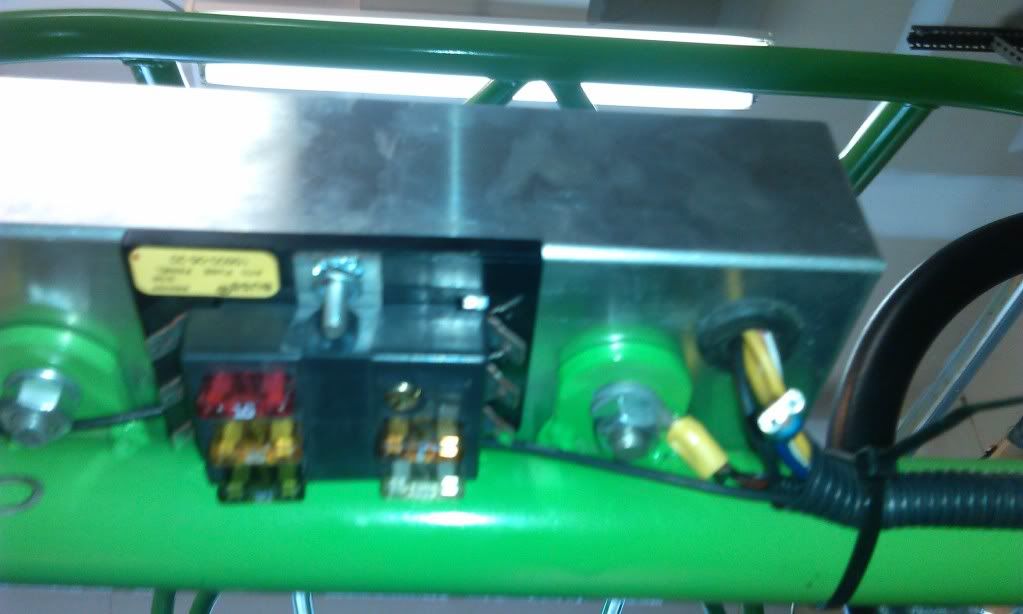
looks great... did you put the fuse box in your aluminum dash? If so did it fit OK... Love that color... keep up the good work and keep the pics coming...


Top
 Profile  
 
PostPosted: Sun Dec 30, 2012 1:16 pm 
Offline
WB Contributor
User avatar

Joined: Wed Nov 30, 2011 6:16 pm
Posts: 1003
Location: columbus, OH
the fuse box would have fit in the dash but i didnt want to take to the lid off to change fuses. instead i mounted it under the dash.its just a simple 6 circuit fuse box from advance.

Image

_________________
If it ain't broke ill fix that


Top
 Profile  
 
PostPosted: Sun Dec 30, 2012 2:03 pm 
Offline
WoodsBuggy Addict
User avatar

Joined: Mon Oct 27, 2008 9:12 pm
Posts: 3891
Location: Fort Wayne, IN WoodsBuggy - NOMAD Chapter
I would strongly sugest you add another set of down tubes like i did for the middle of the roof. Makes me feel safer at least.

_________________
[url=http://www.TickerFactory.com/]
Image
[/url]


Top
 Profile  
 
PostPosted: Sun Dec 30, 2012 2:27 pm 
Offline
WB Contributor
User avatar

Joined: Wed Nov 30, 2011 6:16 pm
Posts: 1003
Location: columbus, OH
I plan on adding some b-pillars and an x brace (if i can find room) next year. i gotta try to get some fruit for all my labor so im gonna run it a season the way it is. I hope this motor lasts me a season but if not my winter rebuild may start WAY early.

_________________
If it ain't broke ill fix that


Top
 Profile  
 
PostPosted: Sat Jan 05, 2013 10:58 pm 
Offline
WB Contributor
User avatar

Joined: Wed Nov 30, 2011 6:16 pm
Posts: 1003
Location: columbus, OH
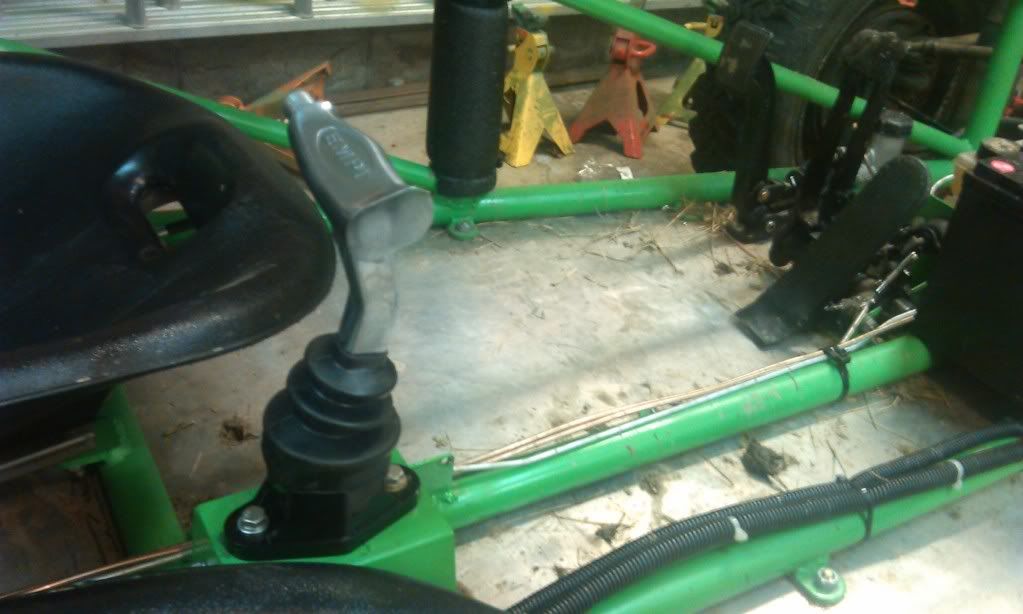
ok got it all rolling again got most of the bugs worked out. got a new shifter on the way cause i couldnt find gears but then figured out most of my problem was the clutch not releasing all the way. if i pump the pedal it releases so i would think air in the system but ive bled this thing just about every way i can think. ive got a tool at work that will shove the fluid into the bleeder and out the master. are there any tricks to bleeding these things?

how long should i expect a motor to last if it has about an 1/8" of endplay? it runs good no noises from the motor but it pukes oil like crazy. I put a new rear main seal in when i switched to the 3 rib and it dont seem to be leaking from there (yet). is it worth resealing this motor or should i force feed it oil till it beats the thrust completely out. im not worried about scattering the motor as the block and crank are already junk.

im trying to build a box for my speakers and amp. I was thinking wood would sound the best but wouldnt withstand the water its going to see. any sugestions? its just 6.5" speakers and a tiny amp that hooks to my mp3 player.

_________________
If it ain't broke ill fix that


Top
 Profile  
 
PostPosted: Sat Jan 05, 2013 11:26 pm 
Offline
WoodsBuggy Addict
User avatar

Joined: Mon Oct 27, 2008 9:12 pm
Posts: 3891
Location: Fort Wayne, IN WoodsBuggy - NOMAD Chapter
If you make it out of steel or aluminum just line it with dynamat. But a marine plywood with a good coat of varnish will hold up decent and sound better, just my two coppers

_________________
[url=http://www.TickerFactory.com/]
Image
[/url]


Top
 Profile  
 
PostPosted: Sat Jan 12, 2013 12:05 am 
Offline
WB Contributor
User avatar

Joined: Wed Nov 30, 2011 6:16 pm
Posts: 1003
Location: columbus, OH
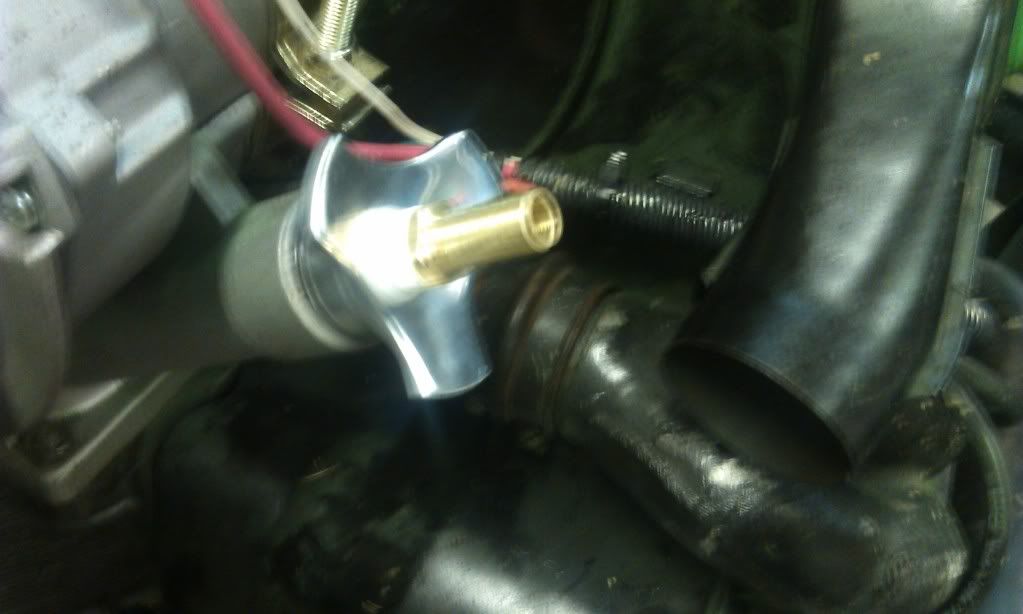
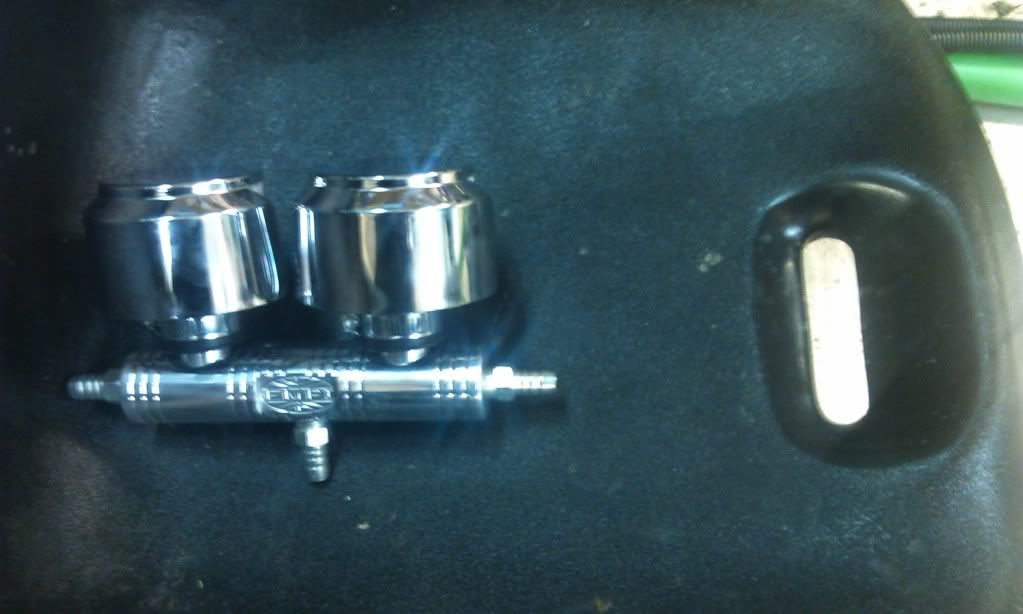
i love new parts. shifter feels great got to late to test it though :( got a new oil fill cap. got a new crankcase breather setup. its over kill for this motor but it was cheap. gonna drill and tap my valve covers to put barb fittings in them also. still trying figure out where to mount this thing. I was thinking maybe some angle aluminum across my fuel tank straps to mount it to.

_________________
If it ain't broke ill fix that


Top
 Profile  
 
PostPosted: Sat Jan 12, 2013 12:08 am 
Offline
WB Contributor
User avatar

Joined: Wed Nov 30, 2011 6:16 pm
Posts: 1003
Location: columbus, OH
Image

Image

Image

_________________
If it ain't broke ill fix that


Top
 Profile  
 
PostPosted: Sat Jan 12, 2013 12:46 am 
Offline
WB Contributor
User avatar

Joined: Wed Nov 30, 2011 6:16 pm
Posts: 1003
Location: columbus, OH
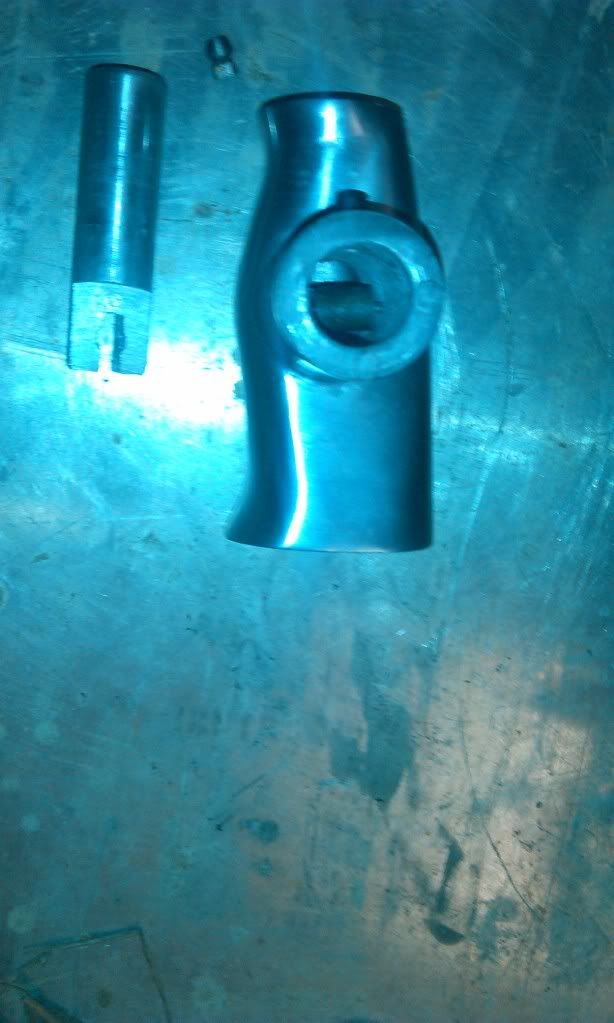
ok now im pissed and i wont buy another empi product. I played with my shifter to much (life story) and it broke. i didnt even get to drive it with the new shifter yet. after shifting it into reverse a couple times the lockout button pops out of the shifter and hits me in the nuts. I took it apart and found whats in the pic below. theres a cable that comes out of the rod and goes into the handle. the button drags the cable across a crummy little roller thats attached by an even more ridiculous pin. the cable is attached to the button by the little thing that looks like a pellet. the pellet just gets smashed on the cable like a wire terminal. needless to say the pellet pulled off the cable. there was no form of lubrication throughout this entire system. its gonna take some serious rethinking and modifying before im comfortable with this thing again. any thoughts on how to make this stronger?

Image

_________________
If it ain't broke ill fix that


Top
 Profile  
 
PostPosted: Sat Jan 12, 2013 12:58 pm 
Offline
WoodsBuggy Addict
User avatar

Joined: Mon Oct 27, 2008 9:12 pm
Posts: 3891
Location: Fort Wayne, IN WoodsBuggy - NOMAD Chapter
Good ol EMPI...yeeeeehaaaaaa. That sucks!

_________________
[url=http://www.TickerFactory.com/]
Image
[/url]


Top
 Profile  
 
PostPosted: Mon Jan 14, 2013 9:13 pm 
Offline
User avatar

Joined: Sun Jan 16, 2011 5:42 pm
Posts: 60
Location: Shinnston WV
The empi trigger shifter is what I run it is waaaay better than that one. I have one like that I used for 1 ride it was impossible to shift with :evil:


Top
 Profile  
 
PostPosted: Mon Jan 14, 2013 9:33 pm 
Offline
WB Contributor

Joined: Mon Apr 28, 2008 1:49 pm
Posts: 1107
Location: cinti,oh
should've went with the scat drag fast shifter :mrgreen: but i saw your other post that you fixed it- just couldnt reply cause the site was aggravating :evil: and the ammo box speaker thing looks good, its even cooler that your old man brought it back from vietnam, gives it some history! keep it up bud :mrgreen:

_________________
ANTI- antifreeze!!!!!!


Top
 Profile  
 
PostPosted: Mon Jan 14, 2013 11:48 pm 
Offline
WB Contributor
User avatar

Joined: Wed Nov 30, 2011 6:16 pm
Posts: 1003
Location: columbus, OH
yeah i was a little hesitant chopping it up with its history and all but he said he wanted me to do it. I'll just keep telling myself im taking it back to war :twisted:

_________________
If it ain't broke ill fix that


Top
 Profile  
 
PostPosted: Wed Jan 16, 2013 2:42 pm 
Offline

Joined: Sun Jan 08, 2012 4:37 pm
Posts: 474
Location: Southern Indiana
I have had my eye on those breathers... does that replace the bugpack or other style where you have a canister with a sponge like thing in it with a lid on top... crank case vent kit... I am going to need something like this as well... I try to buy American anymore... something's don't matter... others may just need a little tlc for like bolt holes lining up or edges removed or casting cleaned up and so on... I have seen some odd things... the metal seems to be getting weaker by the year too.

Nice looking rail...

Thanks for the pics and info...


Top
 Profile  
 
PostPosted: Wed Jan 16, 2013 5:08 pm 
Offline
WB Contributor
User avatar

Joined: Wed Nov 30, 2011 6:16 pm
Posts: 1003
Location: columbus, OH
THERES NO SPONGE OR ANYTHING IN IT BUT IT SEEMS TO HAVE SOME SORT OF TROUGH IN THE ALUMINUM HOUSING TO KEEP THE OIL FROM REACHING THE ACTUAL FILTERS.

_________________
If it ain't broke ill fix that


Top
 Profile  
 
PostPosted: Wed Jan 16, 2013 7:26 pm 
Offline
WB Contributor
User avatar

Joined: Thu Sep 06, 2012 2:23 pm
Posts: 1212
Location: Chattanooga Tennessee
Looks like this beast will be ready for the spring rides. Did you get your cv & axles to get it buttoned up? You can also drill and tap the cylinder head where the round boss is on the top. It is nice to be able to take the valve covers off when adjusting valves

_________________
Water Cooled Consortium, Chairman of the Build (Former AC purist)


Top
 Profile  
 
PostPosted: Thu Jan 17, 2013 10:33 am 
Offline
WB Contributor
User avatar

Joined: Wed Nov 30, 2011 6:16 pm
Posts: 1003
Location: columbus, OH
yep axles in all buttoned up. ive rode it around the field several times without a hitch. need to slow down some oil leaks before i take it anywhere. also need a trailer. looking for a landscaping trailer atleast 7x14 preferable tandem axle with brakes. never thought about drilling and tapping the head ill have to check that out.

_________________
If it ain't broke ill fix that


Top
 Profile  
 
PostPosted: Sun Jan 20, 2013 9:30 pm 
Offline
WB Contributor
User avatar

Joined: Wed Nov 30, 2011 6:16 pm
Posts: 1003
Location: columbus, OH
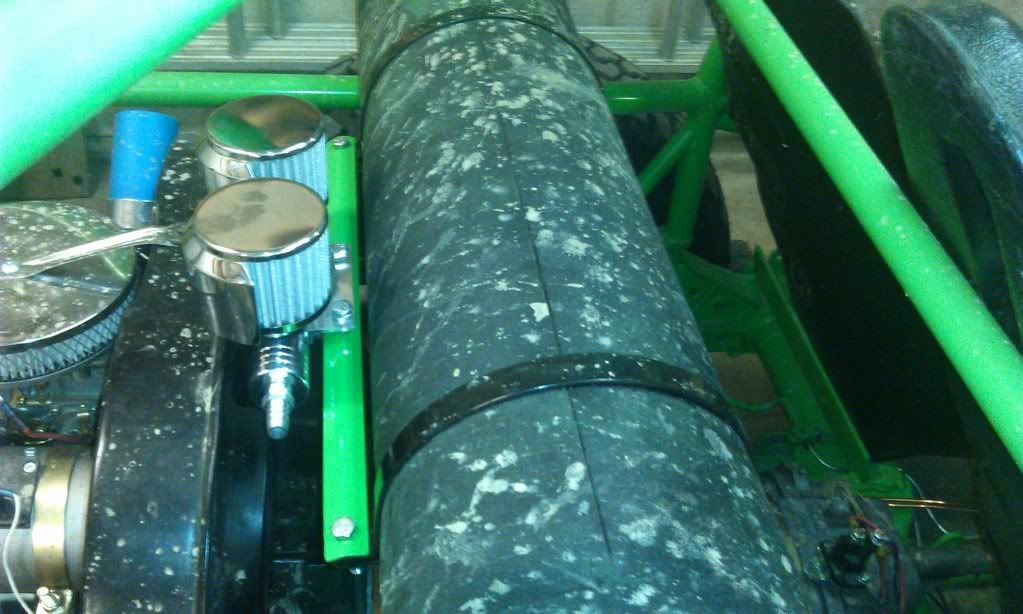
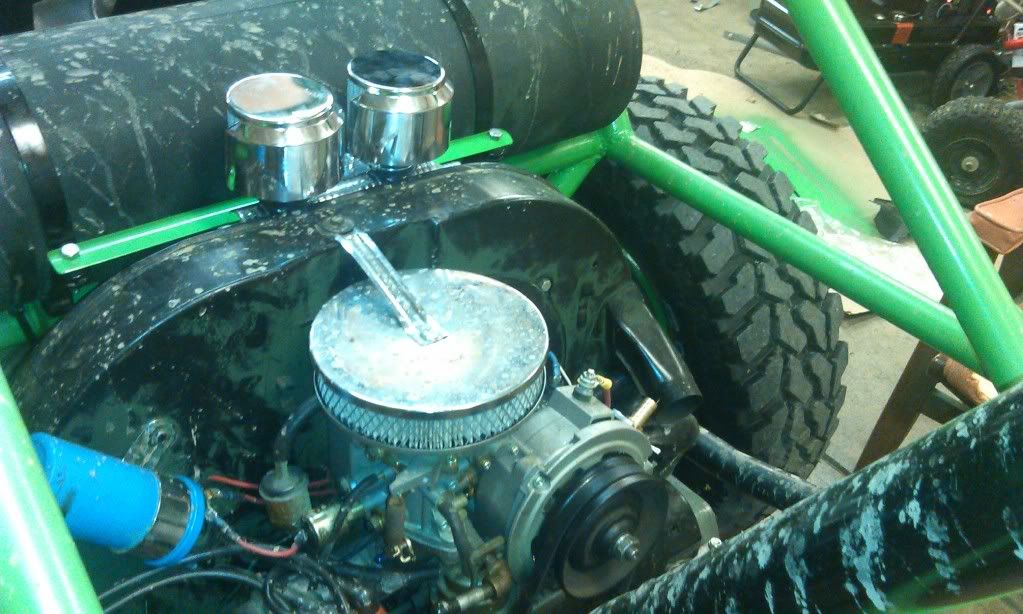
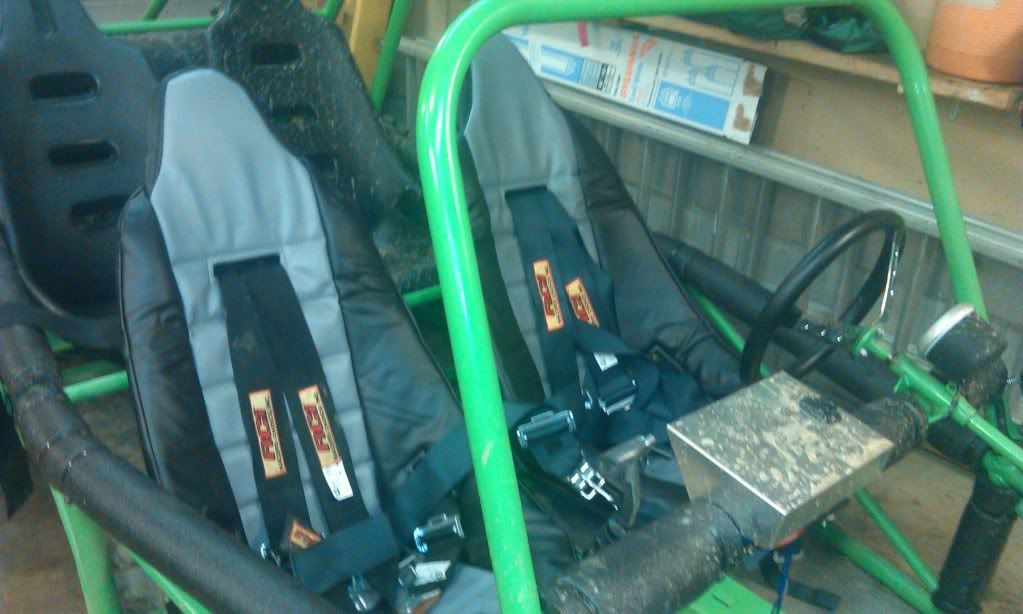
mounted my breather. just made a bracket from a gas tank strap to bolt across my tank mounts. the bow in the strap gives it some strength. any ideas on good hose to connect it? front seats are complete just need one more harness and two covers to complete the back. need to seal the oil leaks now. looks like most of it is coming from the pushrod tubes and oil pump gaskets.

Image

Image

Image

_________________
If it ain't broke ill fix that


Top
 Profile  
 
PostPosted: Sun Jan 20, 2013 11:41 pm 
Offline
WB Contributor
User avatar

Joined: Thu Sep 06, 2012 2:23 pm
Posts: 1212
Location: Chattanooga Tennessee
Hey man if it don't leak it isn't a VW :mrgreen: :mrgreen: :mrgreen:

_________________
Water Cooled Consortium, Chairman of the Build (Former AC purist)


Top
 Profile  
 
PostPosted: Sun Mar 03, 2013 2:39 pm 
Offline
WB Contributor
User avatar

Joined: Wed Nov 30, 2011 6:16 pm
Posts: 1003
Location: columbus, OH
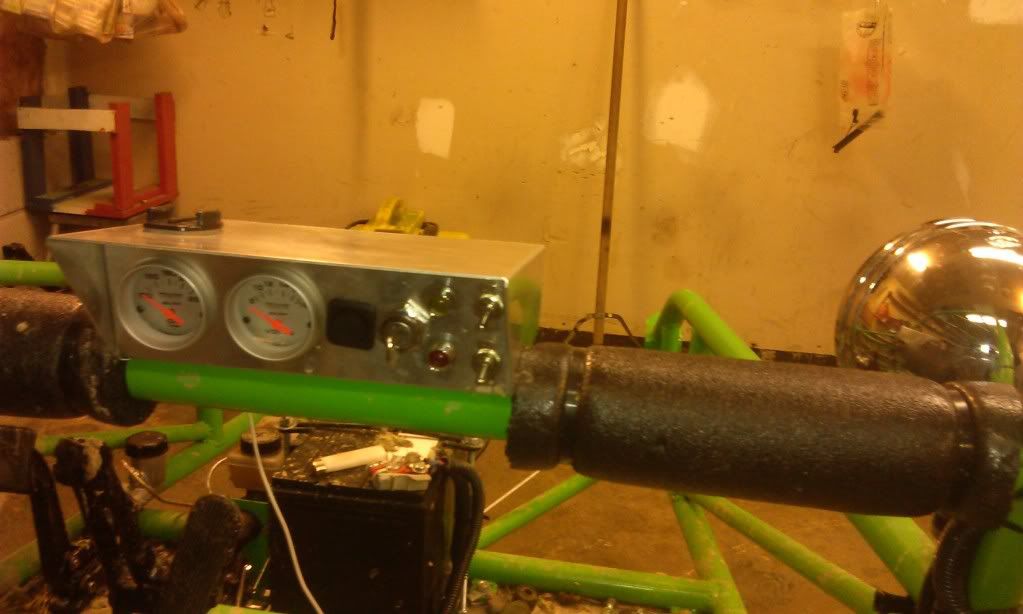
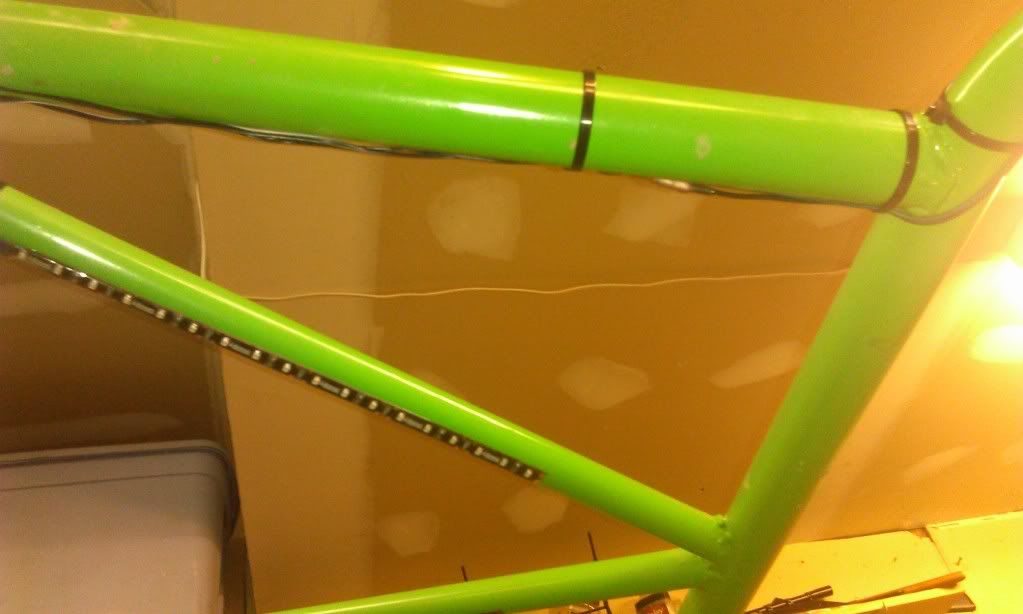
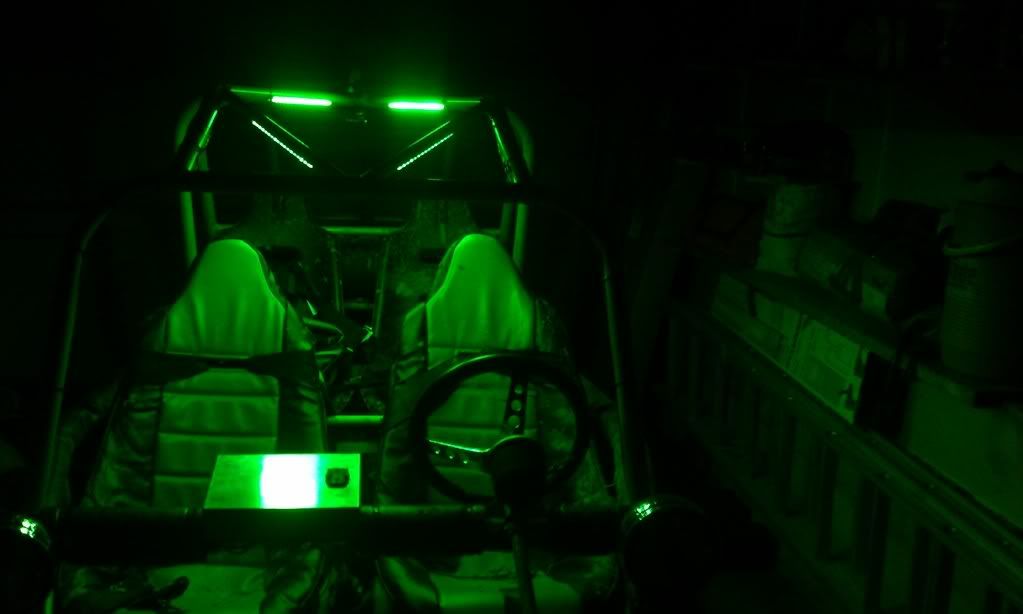
finaly filled all the holes in my dash. had a 2 1/16" hole i filled with an oil temp gauge now i just gotta figure where to put the sender. had a 9/16" hole i filled with a switch to control my new dome lights (sons idea) got some 12" strips of LEDs (green of course) and put them on the diamond braces in my roof.

still need calipers for my rear brakes. waiting for warm weather to get to the junkyard.

still need to build a motor. this one aint gonna last long. anyone got a case for sale?

Image

Image

Image

Image

_________________
If it ain't broke ill fix that


Top
 Profile  
 
PostPosted: Sun Mar 03, 2013 3:43 pm 
Offline

Joined: Sun Jan 08, 2012 4:37 pm
Posts: 474
Location: Southern Indiana
neat... where did you get that stuff?


Top
 Profile  
 
PostPosted: Mon Mar 04, 2013 10:07 am 
Offline
WB Contributor
User avatar

Joined: Wed Nov 30, 2011 6:16 pm
Posts: 1003
Location: columbus, OH
picked it up at advance auto got bout $50 in it with switch wires and lights

_________________
If it ain't broke ill fix that


Top
 Profile  
 
PostPosted: Tue Mar 05, 2013 12:56 am 
Offline
WoodsBuggy Addict
User avatar

Joined: Fri Nov 30, 2007 4:03 pm
Posts: 3181
Location: leeds alabama
i use the same thing but in red and the two 6inch ones they work great and water prooff and just stick right on. and it looks good i like the green

_________________
Image

I DO NOT FREE BASE COCAINE


Top
 Profile  
 
PostPosted: Sun Apr 07, 2013 7:23 pm 
Offline
WB Contributor
User avatar

Joined: Wed Nov 30, 2011 6:16 pm
Posts: 1003
Location: columbus, OH
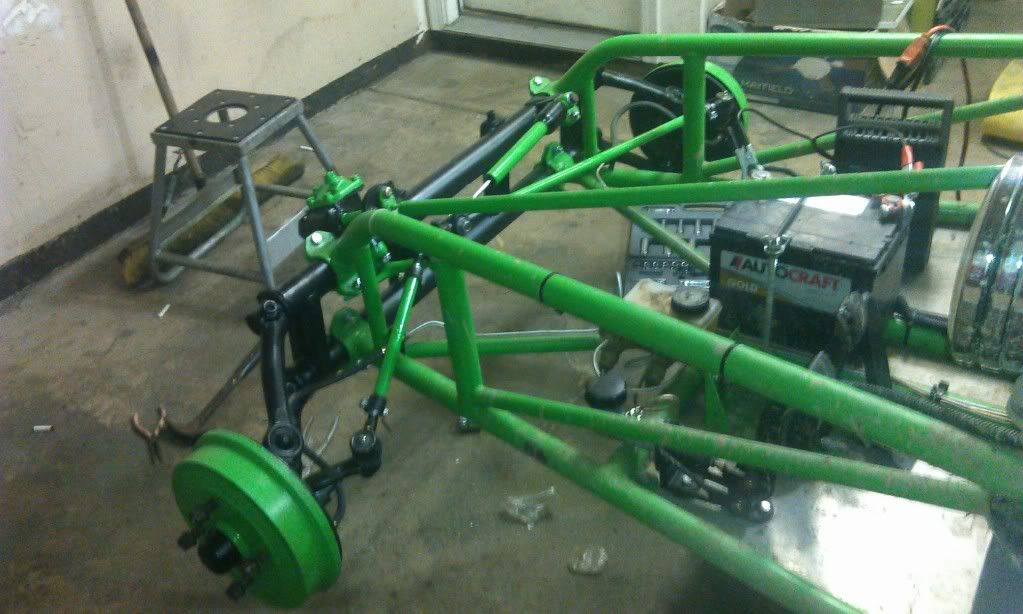
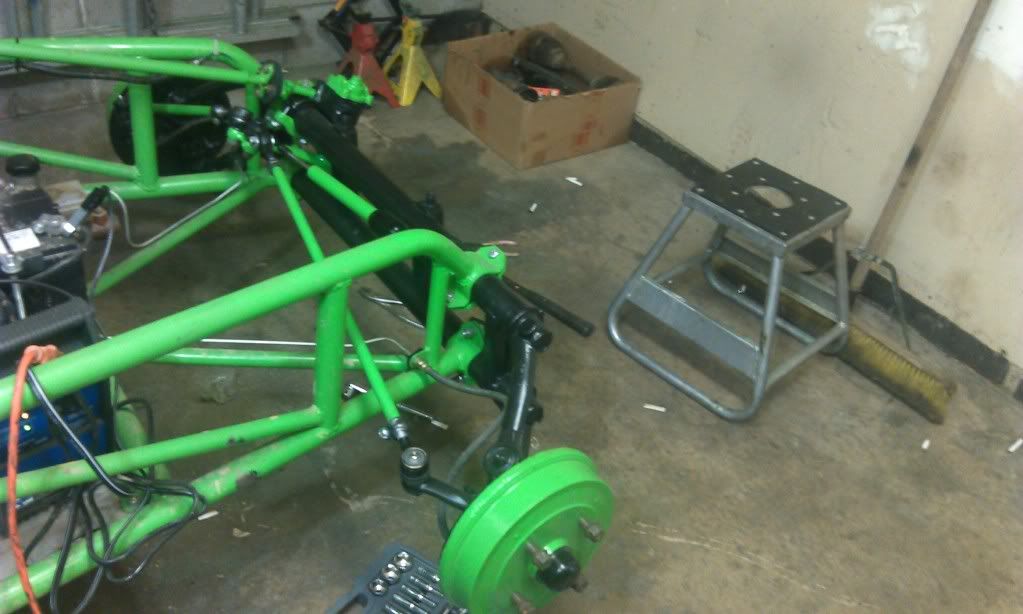
got the front end back together.

Image

Image

started gathering parts for engine build

_________________
If it ain't broke ill fix that


Top
 Profile  
 
PostPosted: Sun Apr 07, 2013 7:47 pm 
Offline
WB Contributor
User avatar

Joined: Thu Sep 06, 2012 2:23 pm
Posts: 1212
Location: Chattanooga Tennessee
Did you scatter your dual port? Or throw the parts in the front yard? By the time you finish your machine work you could have bought the WC engine adaptor, radiator and echo tech engine. The best thing is your car is painted and easy to modify.

On a serious note the project is looking good.

_________________
Water Cooled Consortium, Chairman of the Build (Former AC purist)


Top
 Profile  
 
Display posts from previous:  Sort by  
Post new topic Reply to topic  [ 160 posts ]  Go to page Previous  1, 2, 3, 4, 5, 6, 7  Next

Board index » General » Buggy Builds

All times are UTC - 5 hours [ DST ]


Who is online

Users browsing this forum: No registered users and 25 guests


You cannot post new topics in this forum
You cannot reply to topics in this forum
You cannot edit your posts in this forum
You cannot delete your posts in this forum
You cannot post attachments in this forum

Search for:
Jump to:  
Powered by phpBB® Forum Software © phpBB Group